
Personalised products are huge drivers of sales for e-commerce sellers, but manually customizing every artwork file in external software takes up valuable time. With Papello’s new Custom Fields inside the Design Studio, you can now build fully automated, dynamic templates.
When a customer fills out the personalisation boxes on your store, Papello automatically renders a high-resolution, print-ready file using their exact inputs. No manual graphic design work required.
Because Etsy is the premier marketplace for custom goods, we have first launched this feature fully integrated with our Etsy store sync. Other marketplaces will be launched soon!
Understanding the 3 Custom Field Types
When creating a dynamic template in the Design Studio, you can add three distinct types of interactive fields:
1. Textboxes
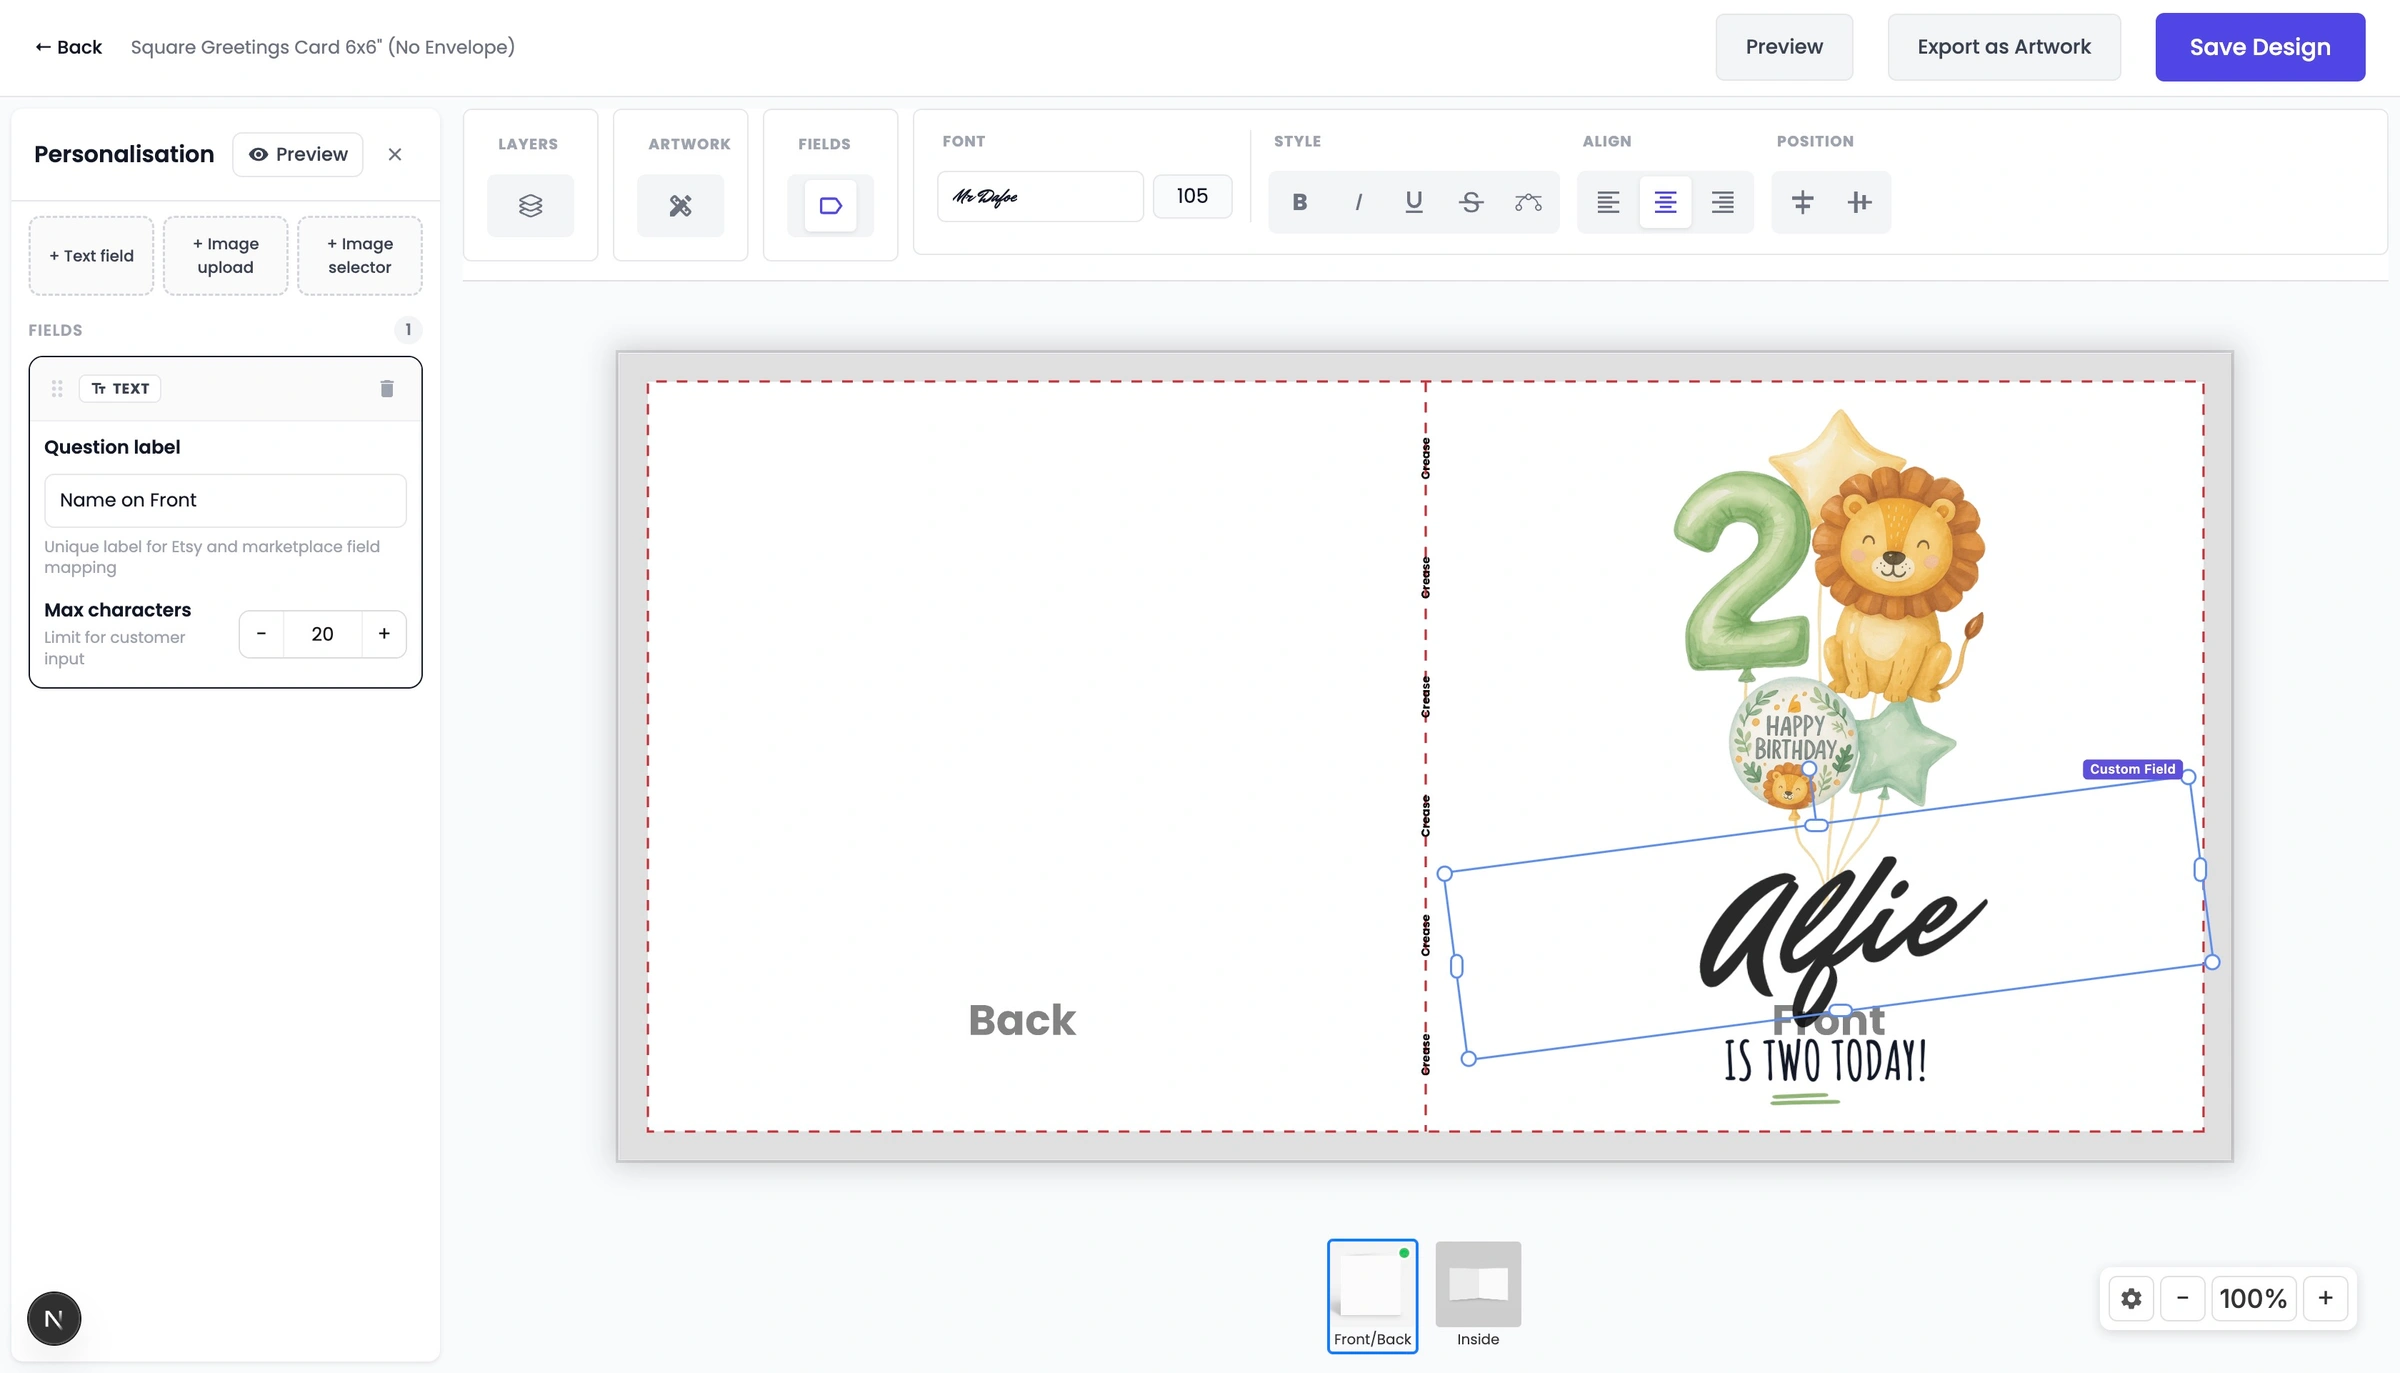
Use this field when customers need to supply custom names, dates, or messages (for example, adding a child's name to a custom mug or greetings card).
Styling Controls: Set your preferred font, colour, and baseline size.
Character Limits: Restrict the maximum number of characters to ensure text stays within printable bounds.
Fixed Textbox Size: Enabling this setting forces any amount of text to automatically scale down to fit inside your bounding box, ensuring longer names never spill off the edges of your product.
2. Image Selector
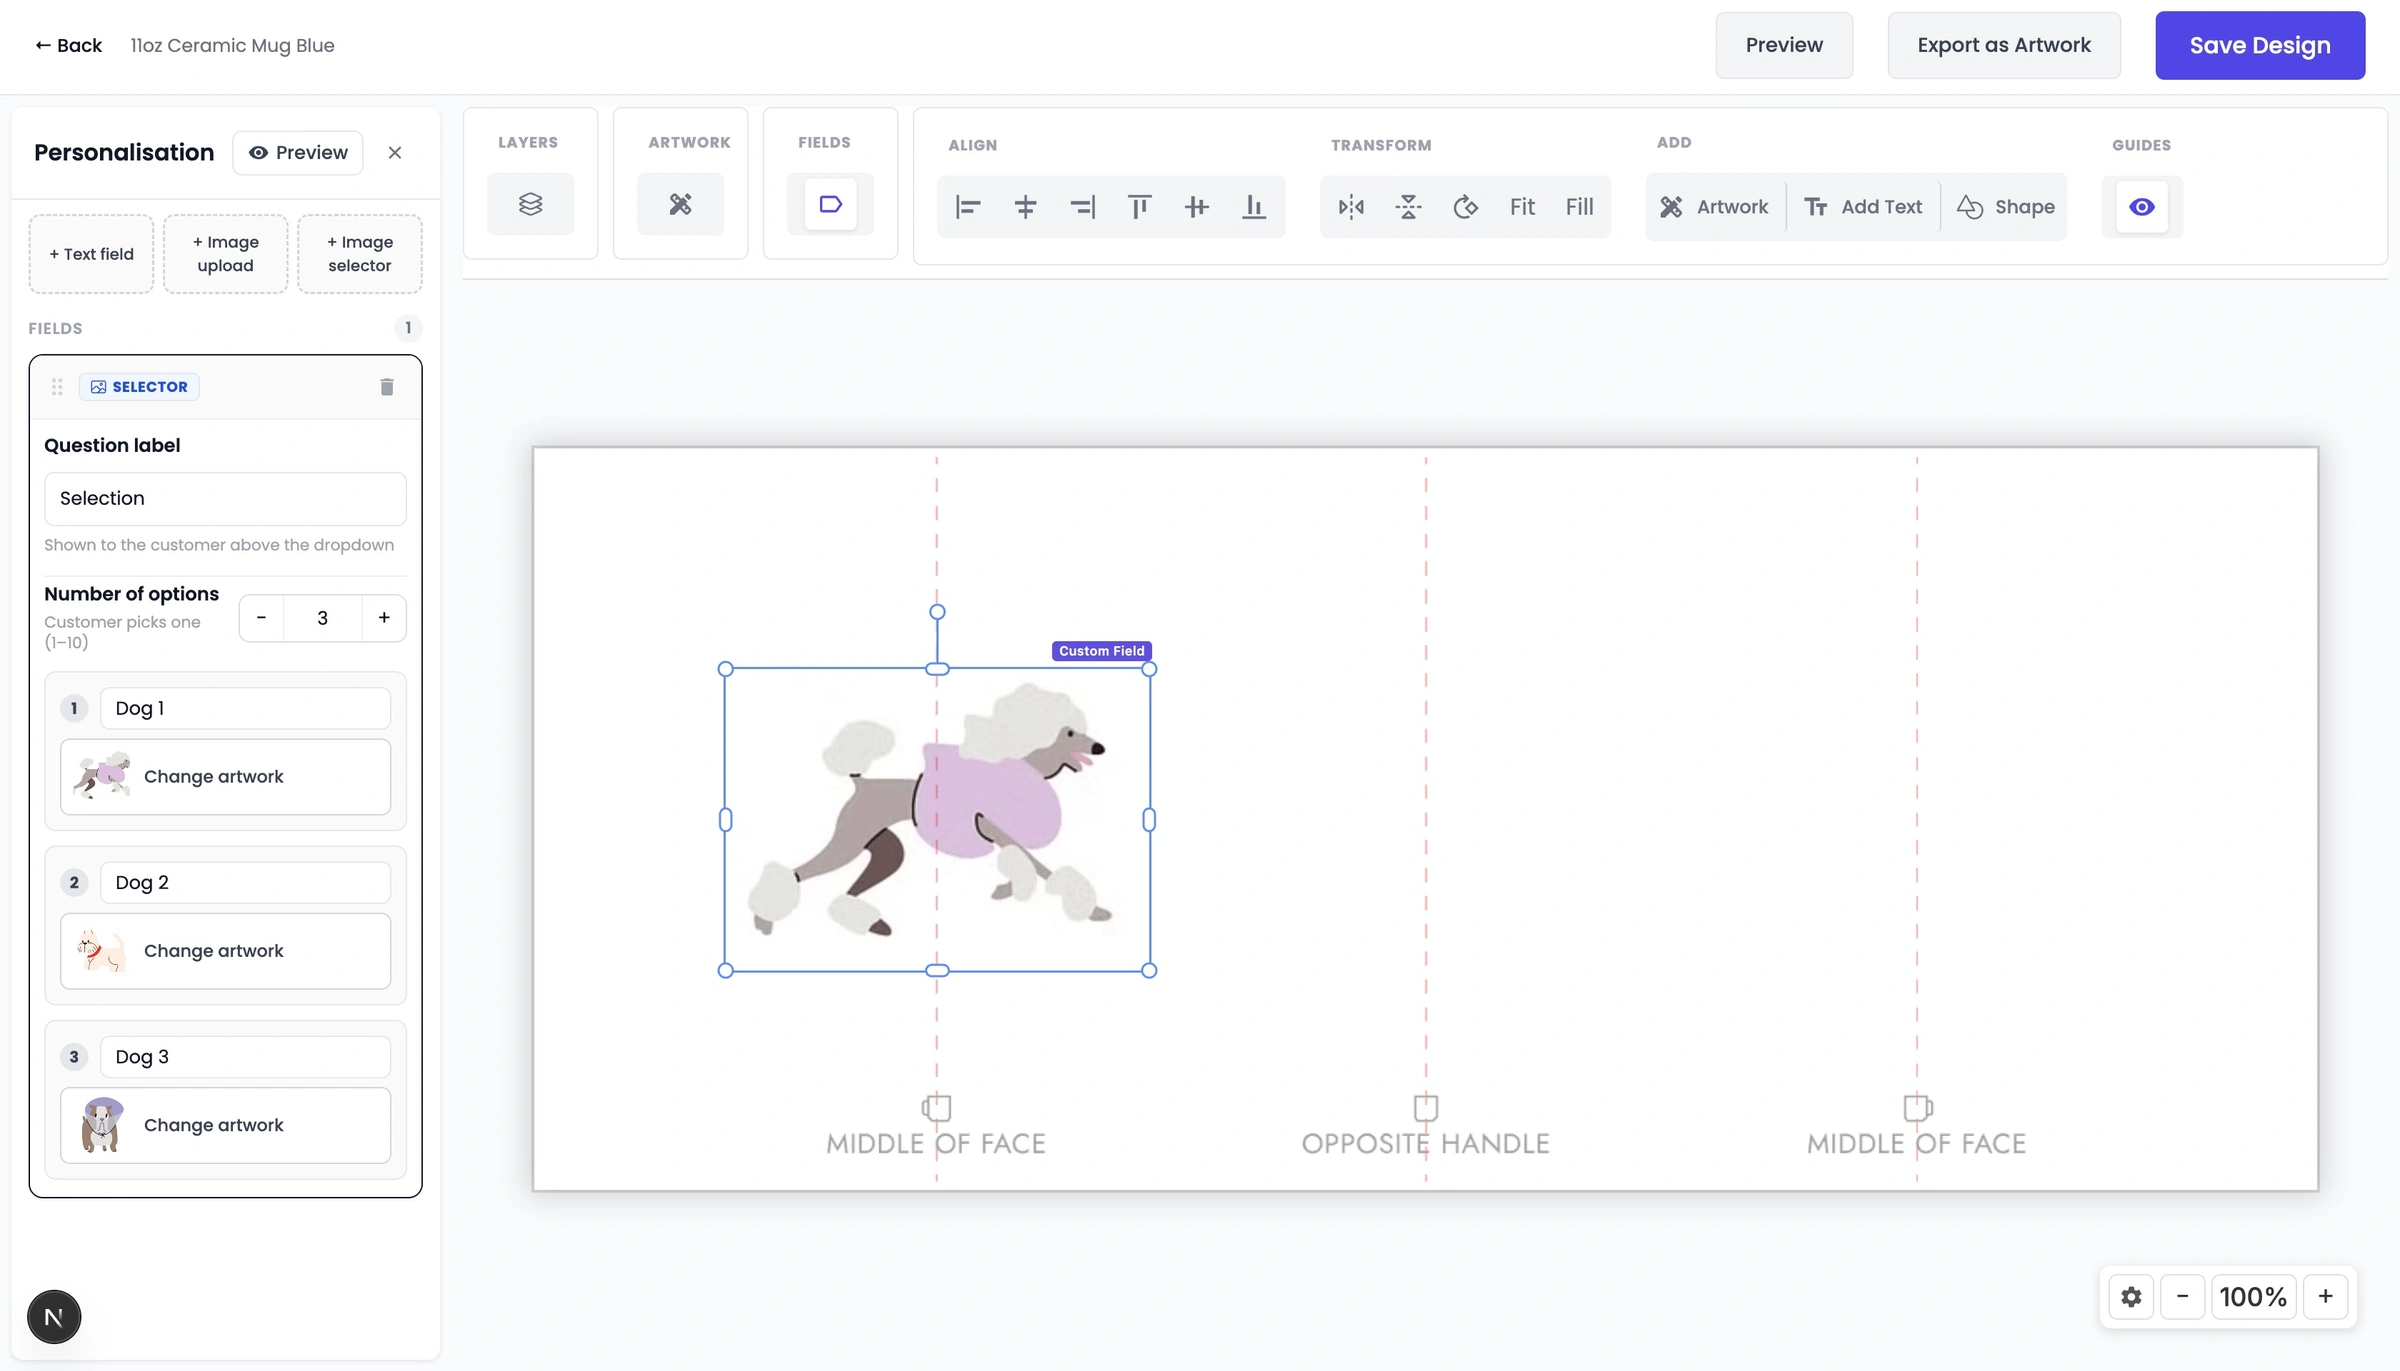
Ideal for listings that offer predefined design variations, such as selecting a dog breed, birth flower, or hair style.
Add multiple image choices to a single selector tray (e.g., Pug, Spaniel, Beagle).
When a customer picks an option from the drop-down menu on your listing, Papello automatically renders the artwork with their selected graphic asset.
3. Image Upload
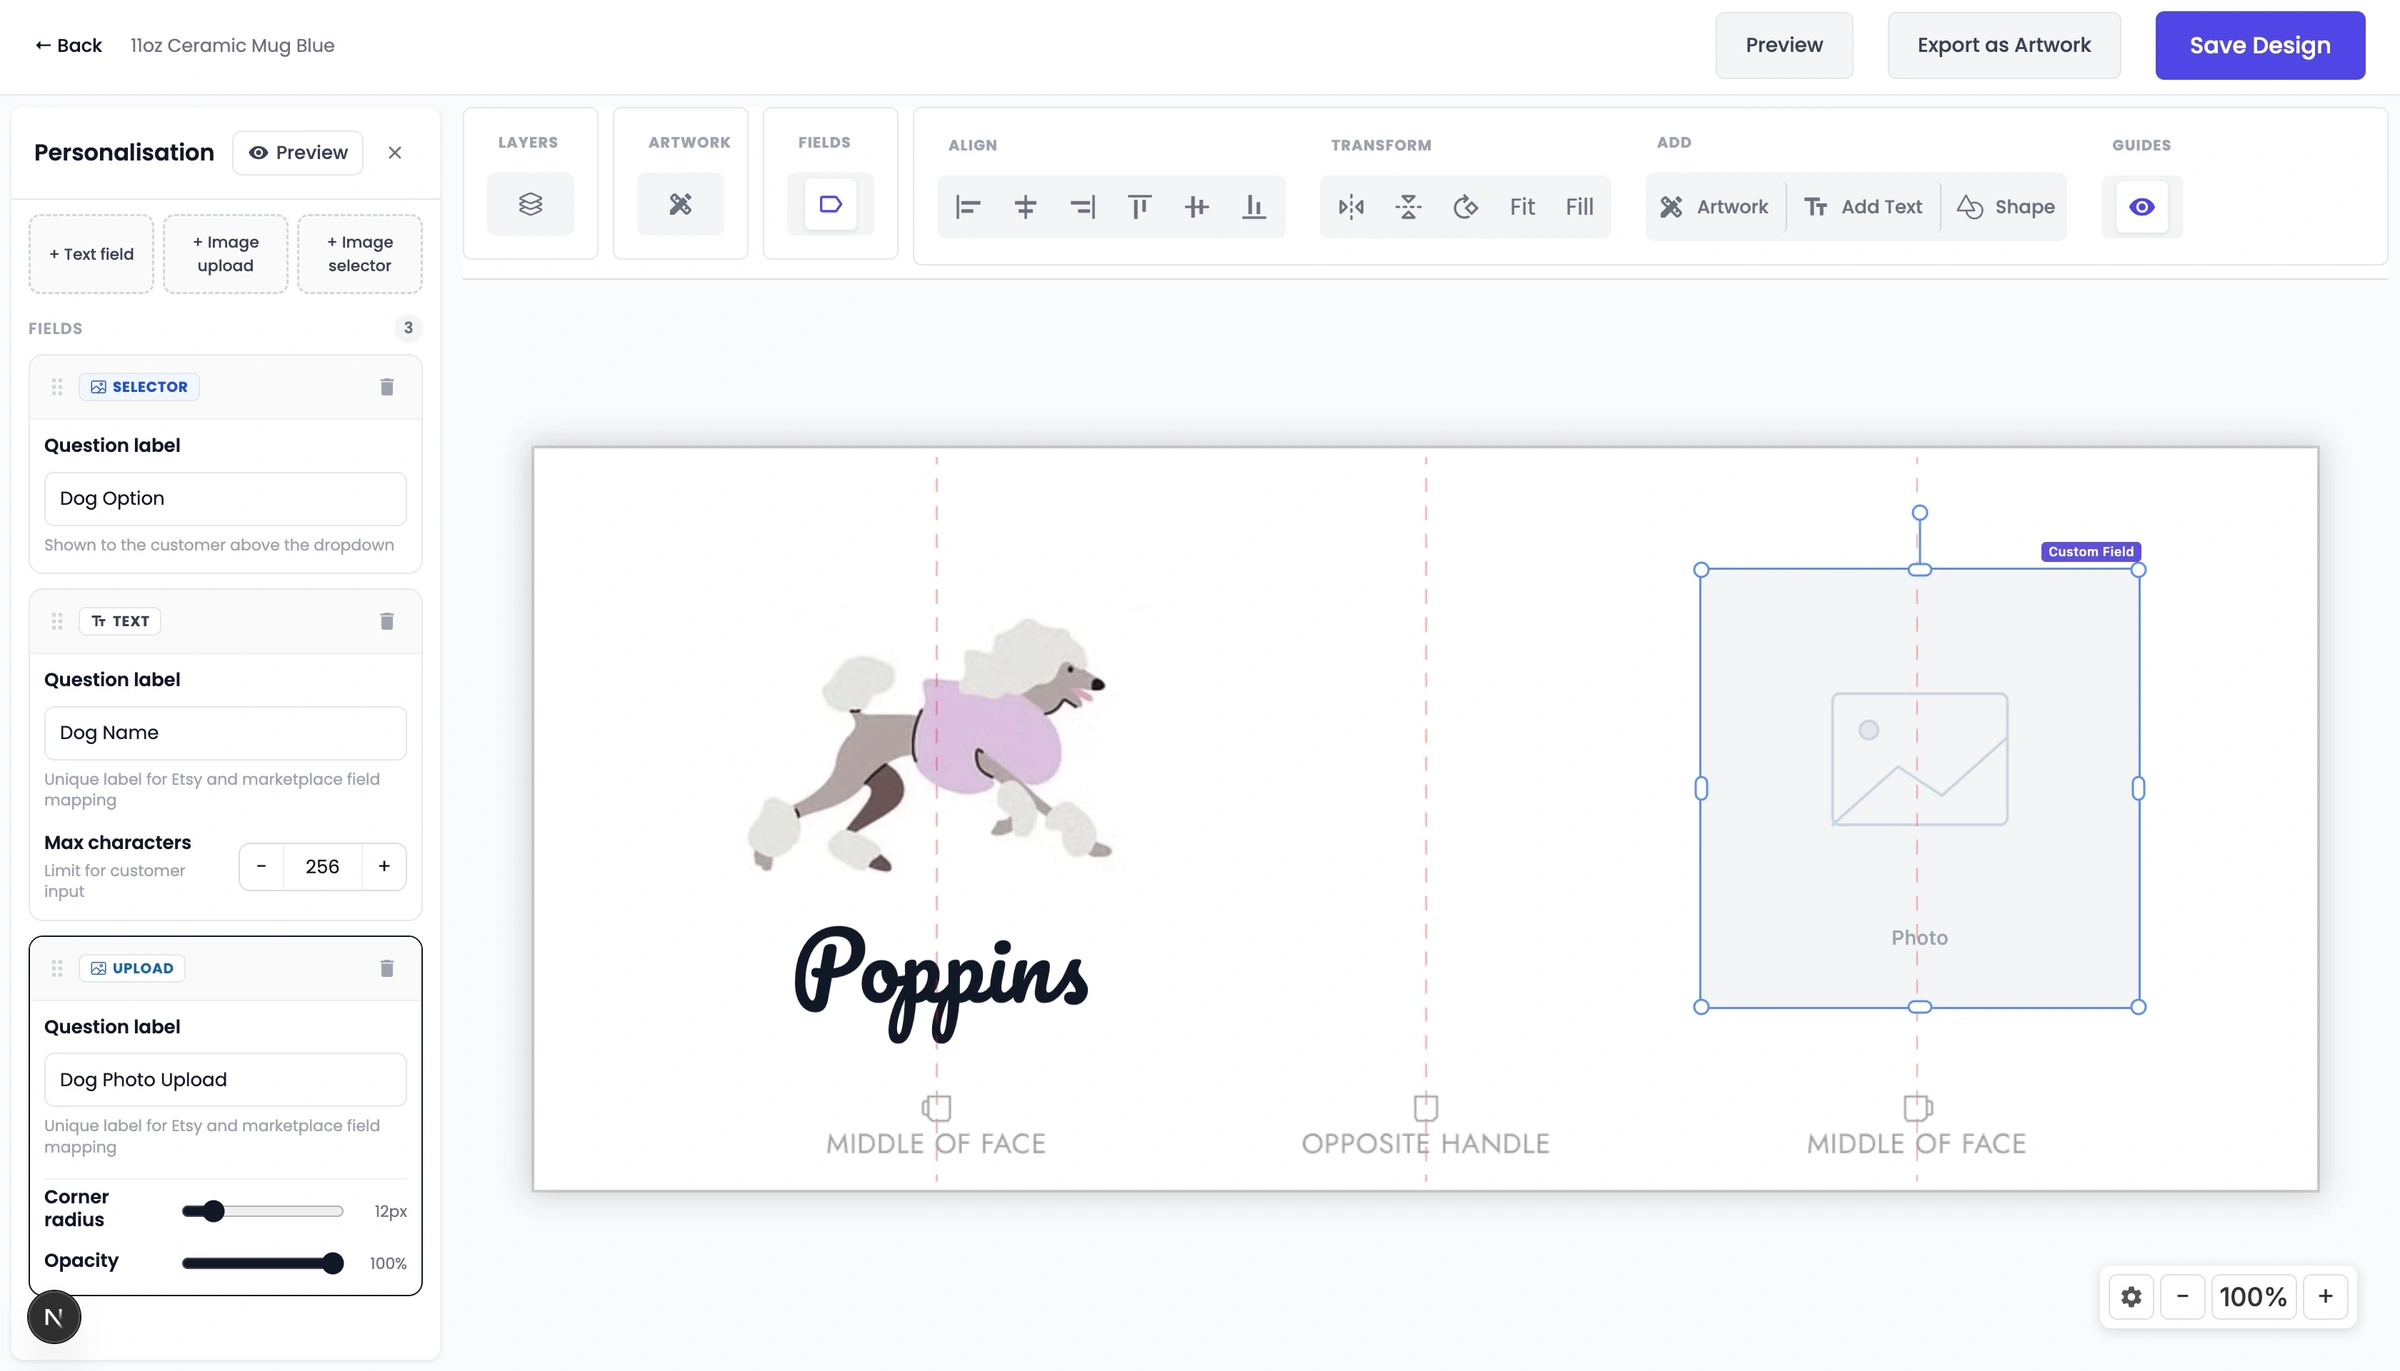
Perfect for products where customers submit their own photos (for example, custom pet photo gifts or memory keyrings).
Set the exact size, position, and frame style (including rounded corner radius).
When an order comes in, the customer's uploaded photograph is placed directly into the predefined layout frame.
Step-by-Step: Building a Personalised Template
Step 1: Add Fields in the Design Studio
Open the Design Studio and choose your base product.
From the top main toolbar, click the "Fields" button to open the personalisation drawer.
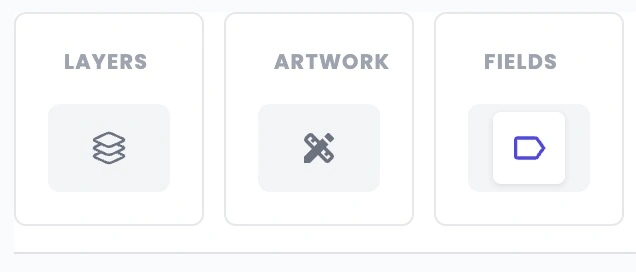
Select any of the three options (Textboxes, Image Selector, or Image Upload) to place a placeholder onto your artboard.
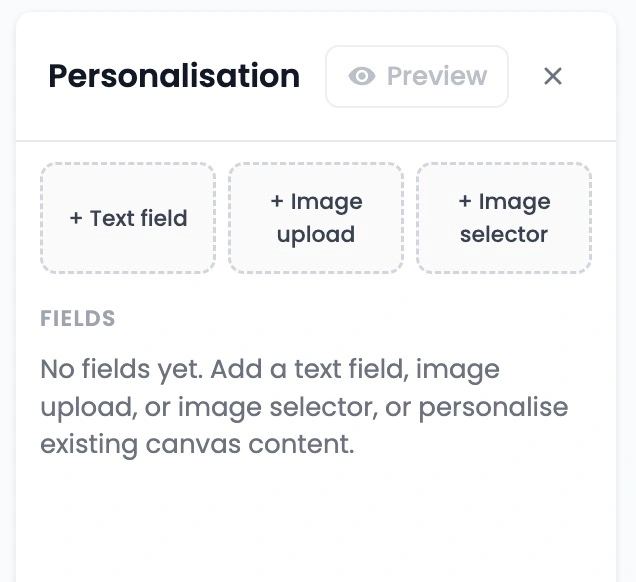
Etsy Store Limits: Etsy allows up to 5 custom fields per listing. Across these fields, you can include up to 10 image uploads and up to 30 selector option variants.
Step 2: Set Question Labels
For every custom field added, enter a clear "Question label". This label maps directly to the personalisation prompt shown to the customer on your store.
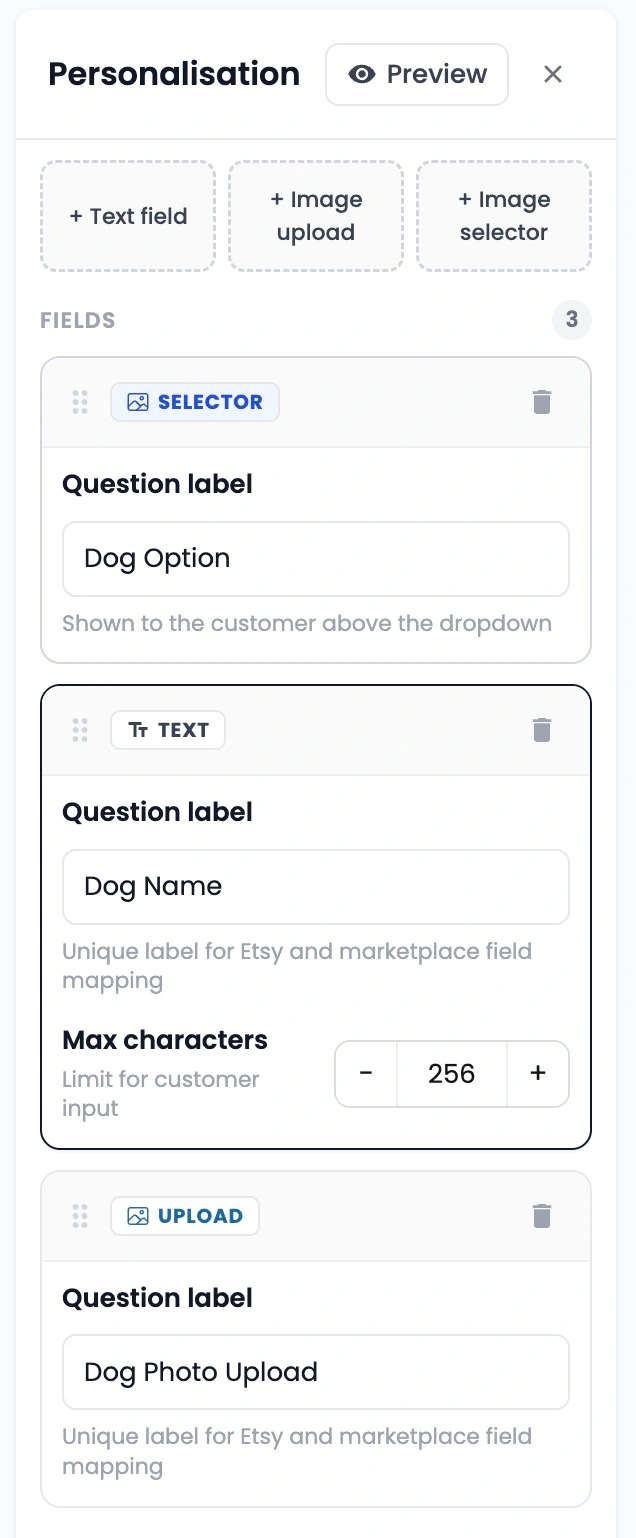
Step 3: Test and Preview
Before saving, click Preview in the fields sidebar. This triggers an interactive simulator where you can test typing different names or selecting images to watch the live artwork render in real time.
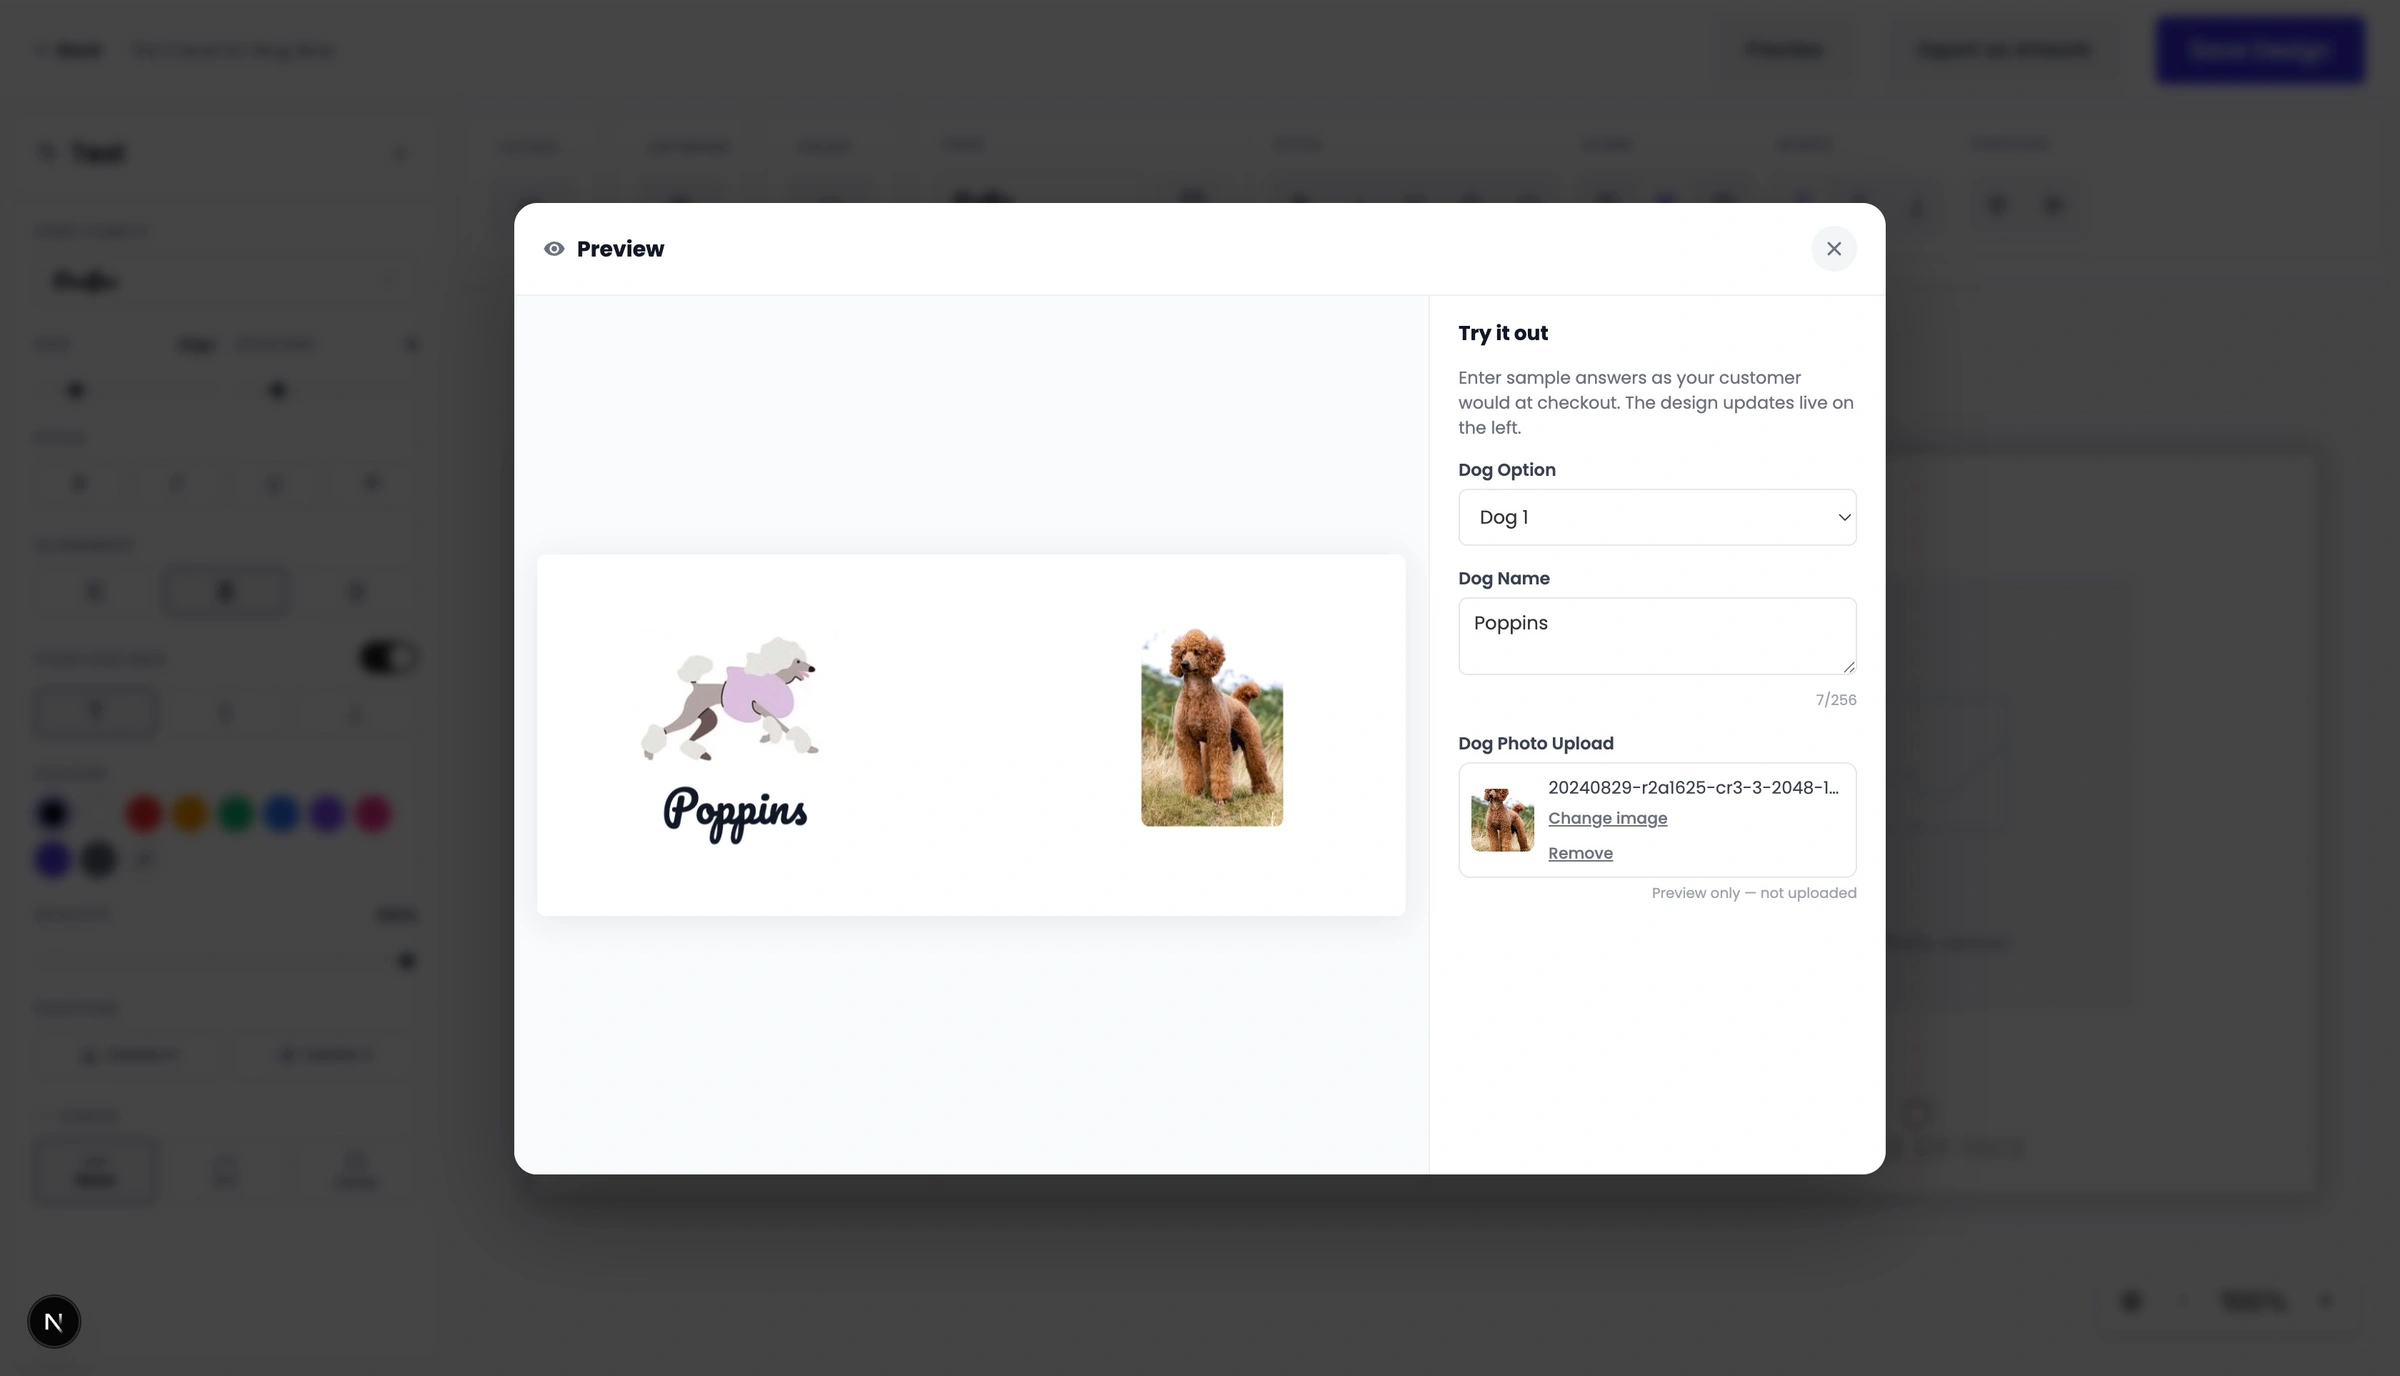
Pro Tip: Always test your textboxes with long names during this step to verify that your character limits and "Fixed Textbox Size" auto-fit settings are performing correctly.
Step 4: Save
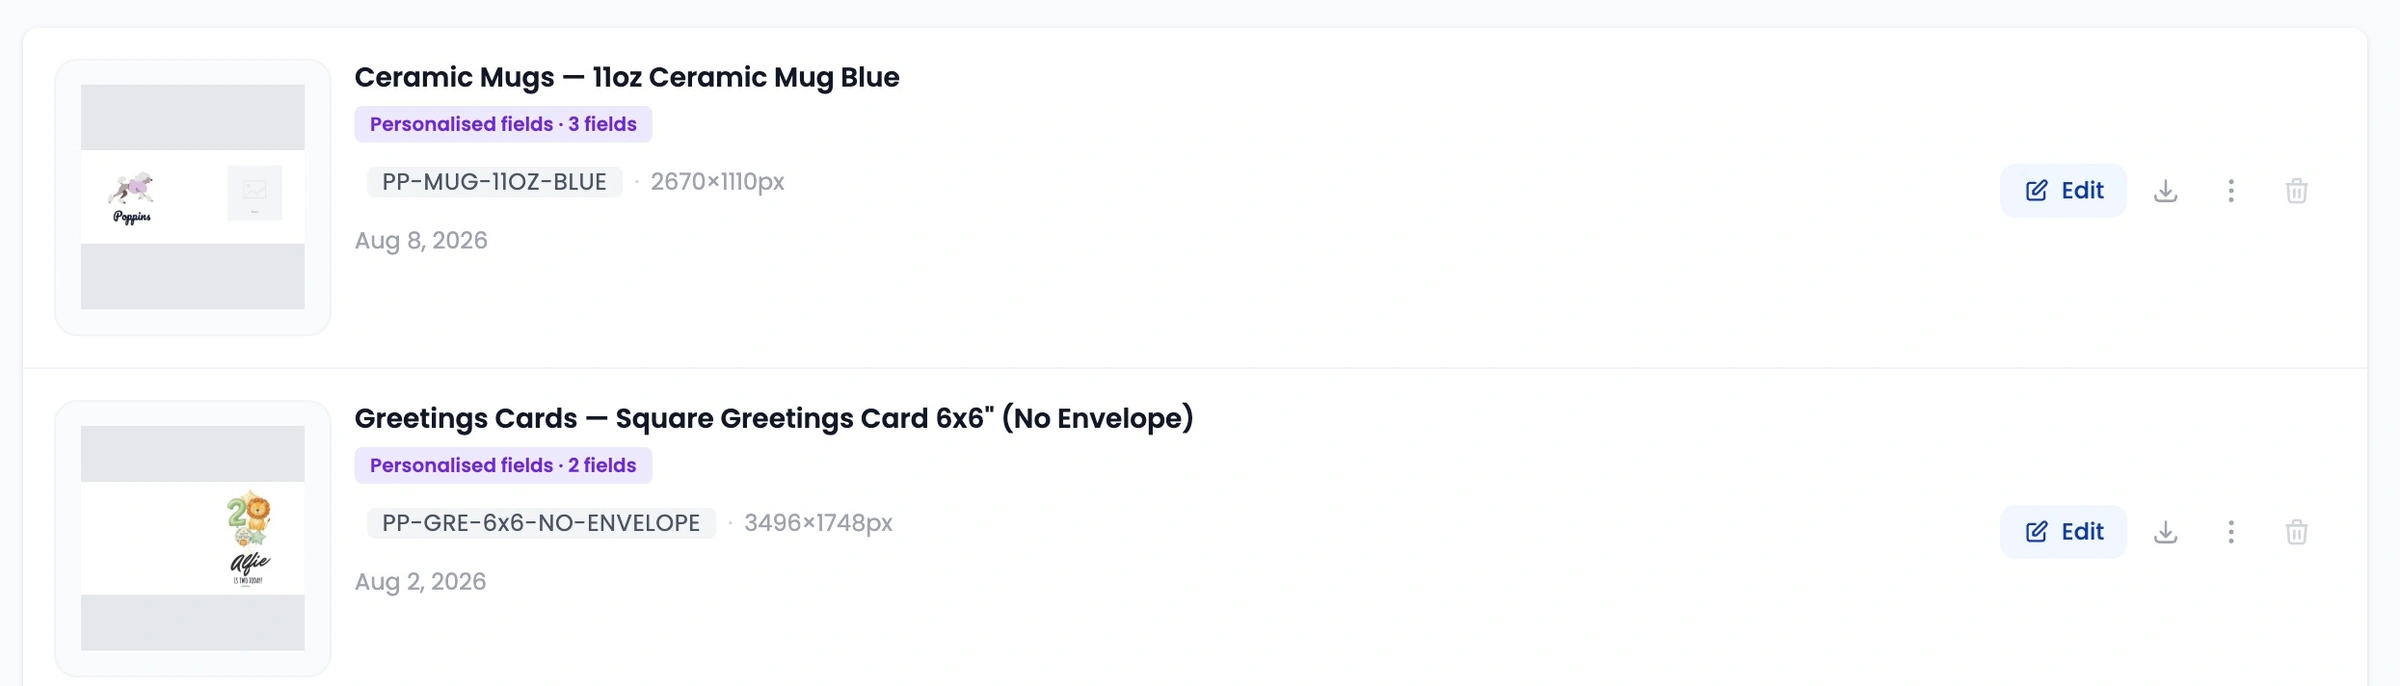
Once you save your finished project, a "Personalised fields" badge will appear on the template card in your Design Studio dashboard, making it easy to identify your dynamic designs at a glance.
Step 5: Create a Listing
Before you can publish to your store, you need to create a listing on Papello:
Navigate to the Listings page in your dashboard sidebar.
Click Create Listing and choose whether you want to set up a Single Product or a Variation Product.
Sizing Tip: If you are creating a variation listing with multiple print sizes (for example, offering A4, A3, and A2 options), make sure you build your original personalised design template in the largest size (A2). This guarantees that when smaller orders or larger variations render, the artwork stays crisp and high-resolution for all print sizes.
In Step 2 of the listing creator, check the box for "This is a personalised listing".
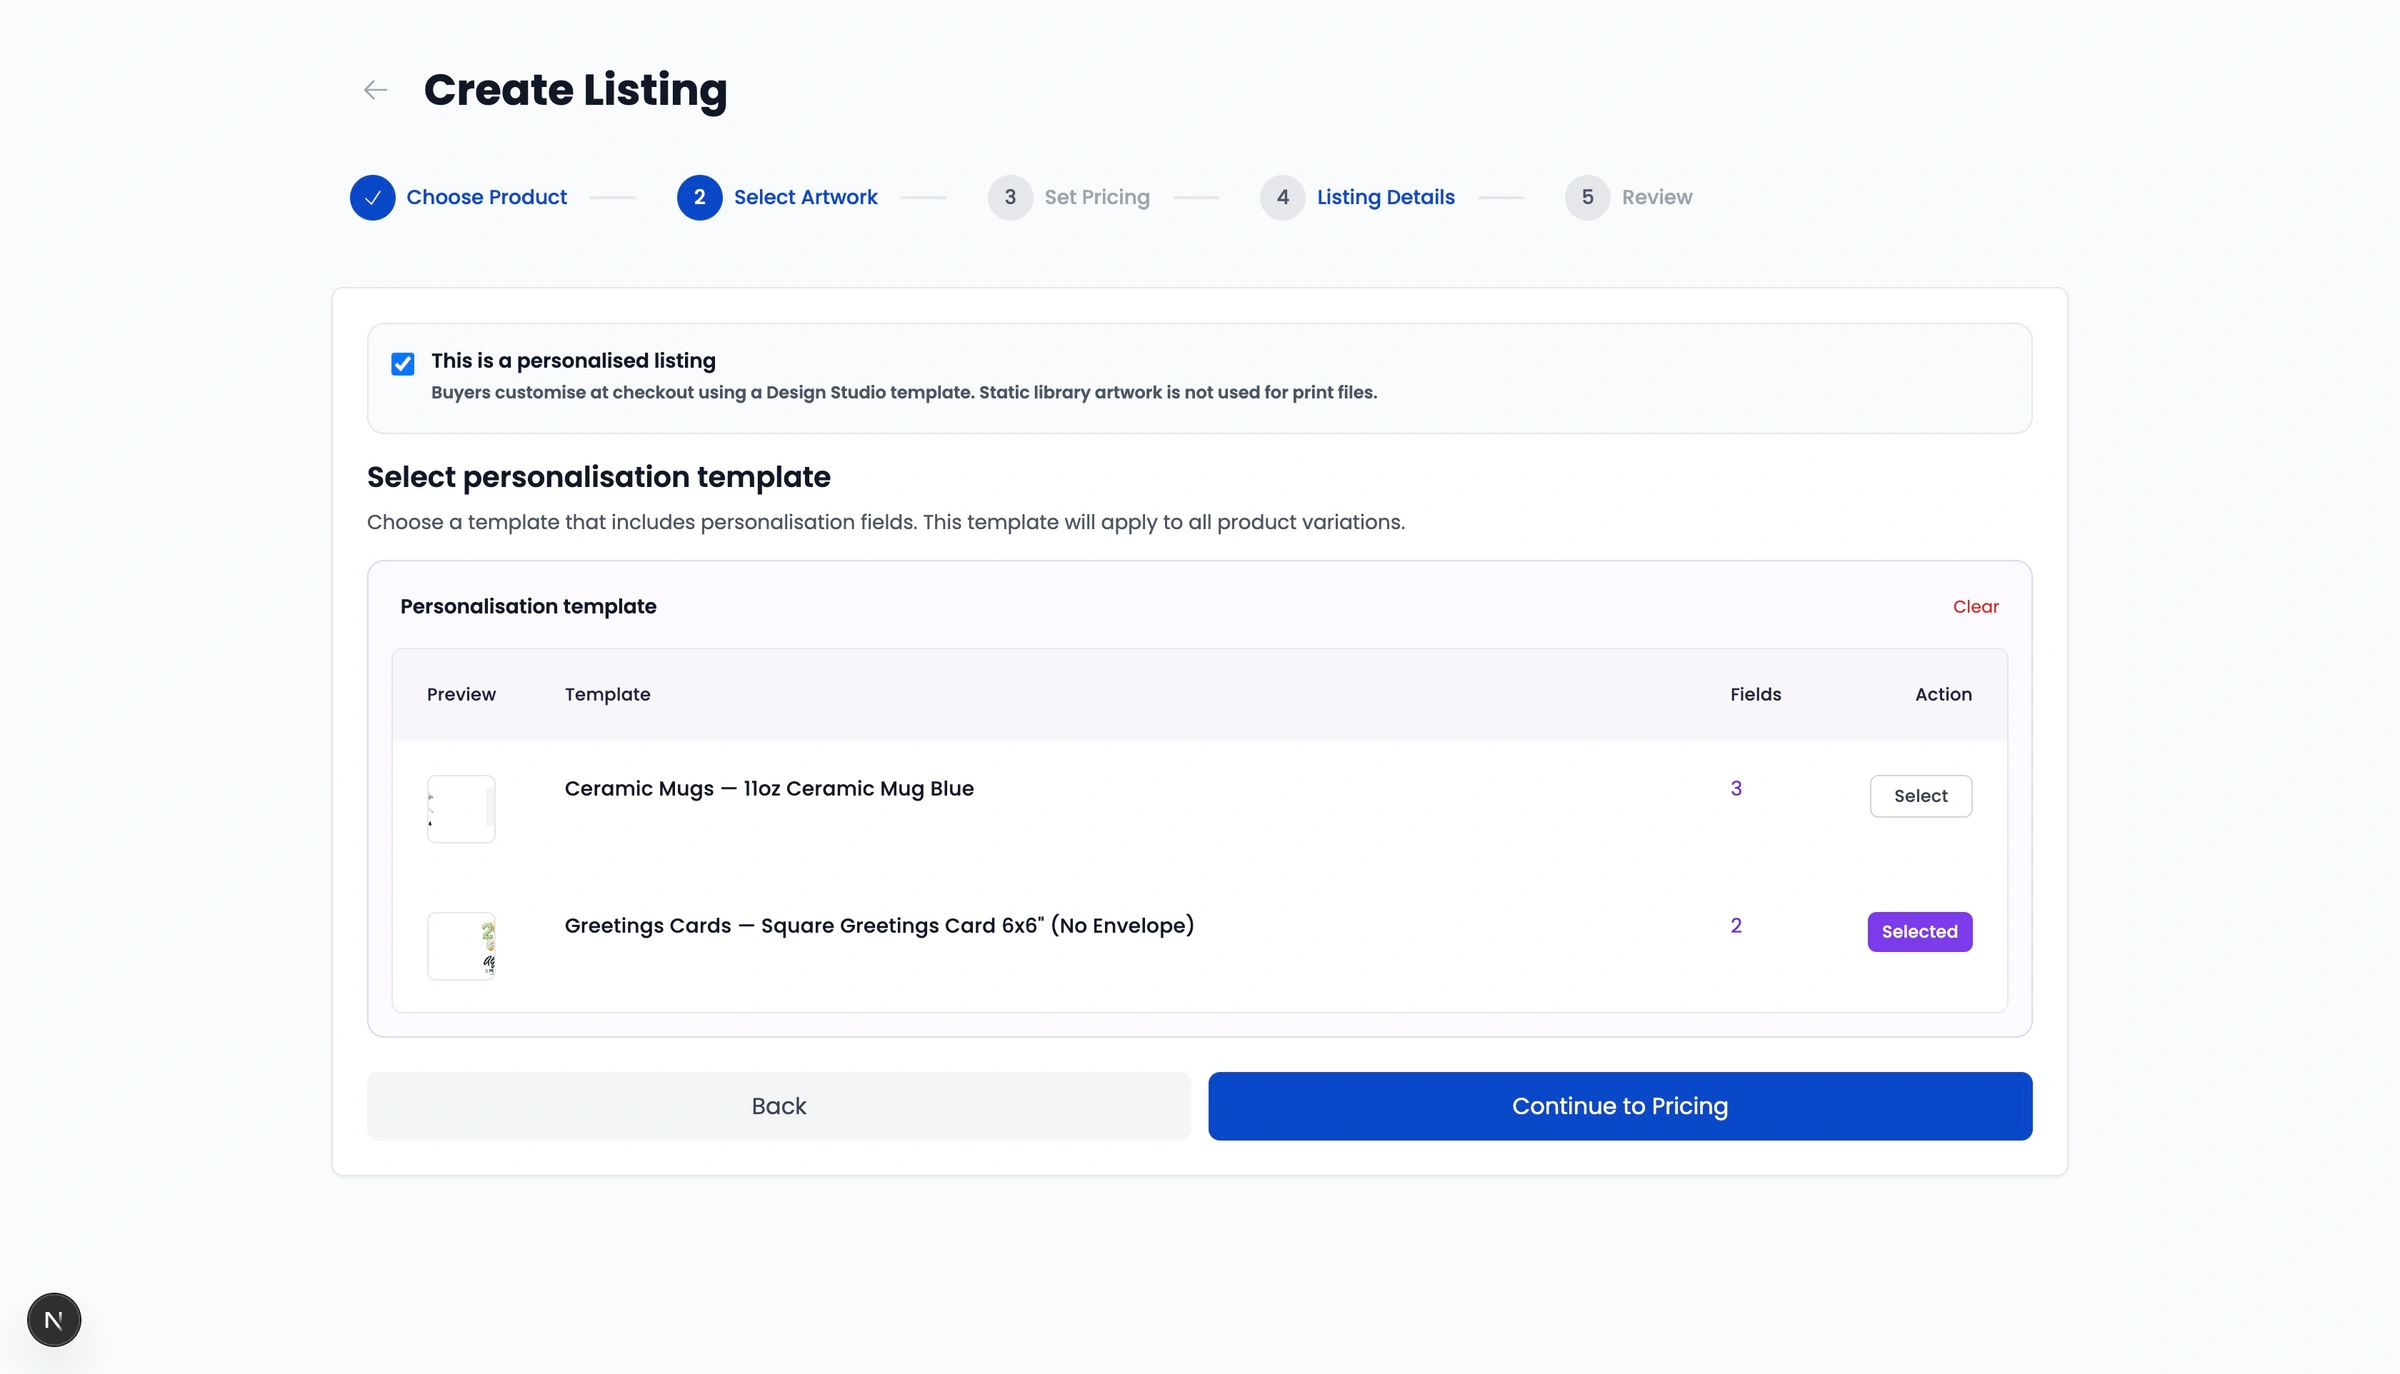
Once checked, the artwork selection menu will automatically switch from your standard Artwork Library to display your saved personalised design templates from the Design Studio. Select your template and continue setting up the rest of your listing details as usual.
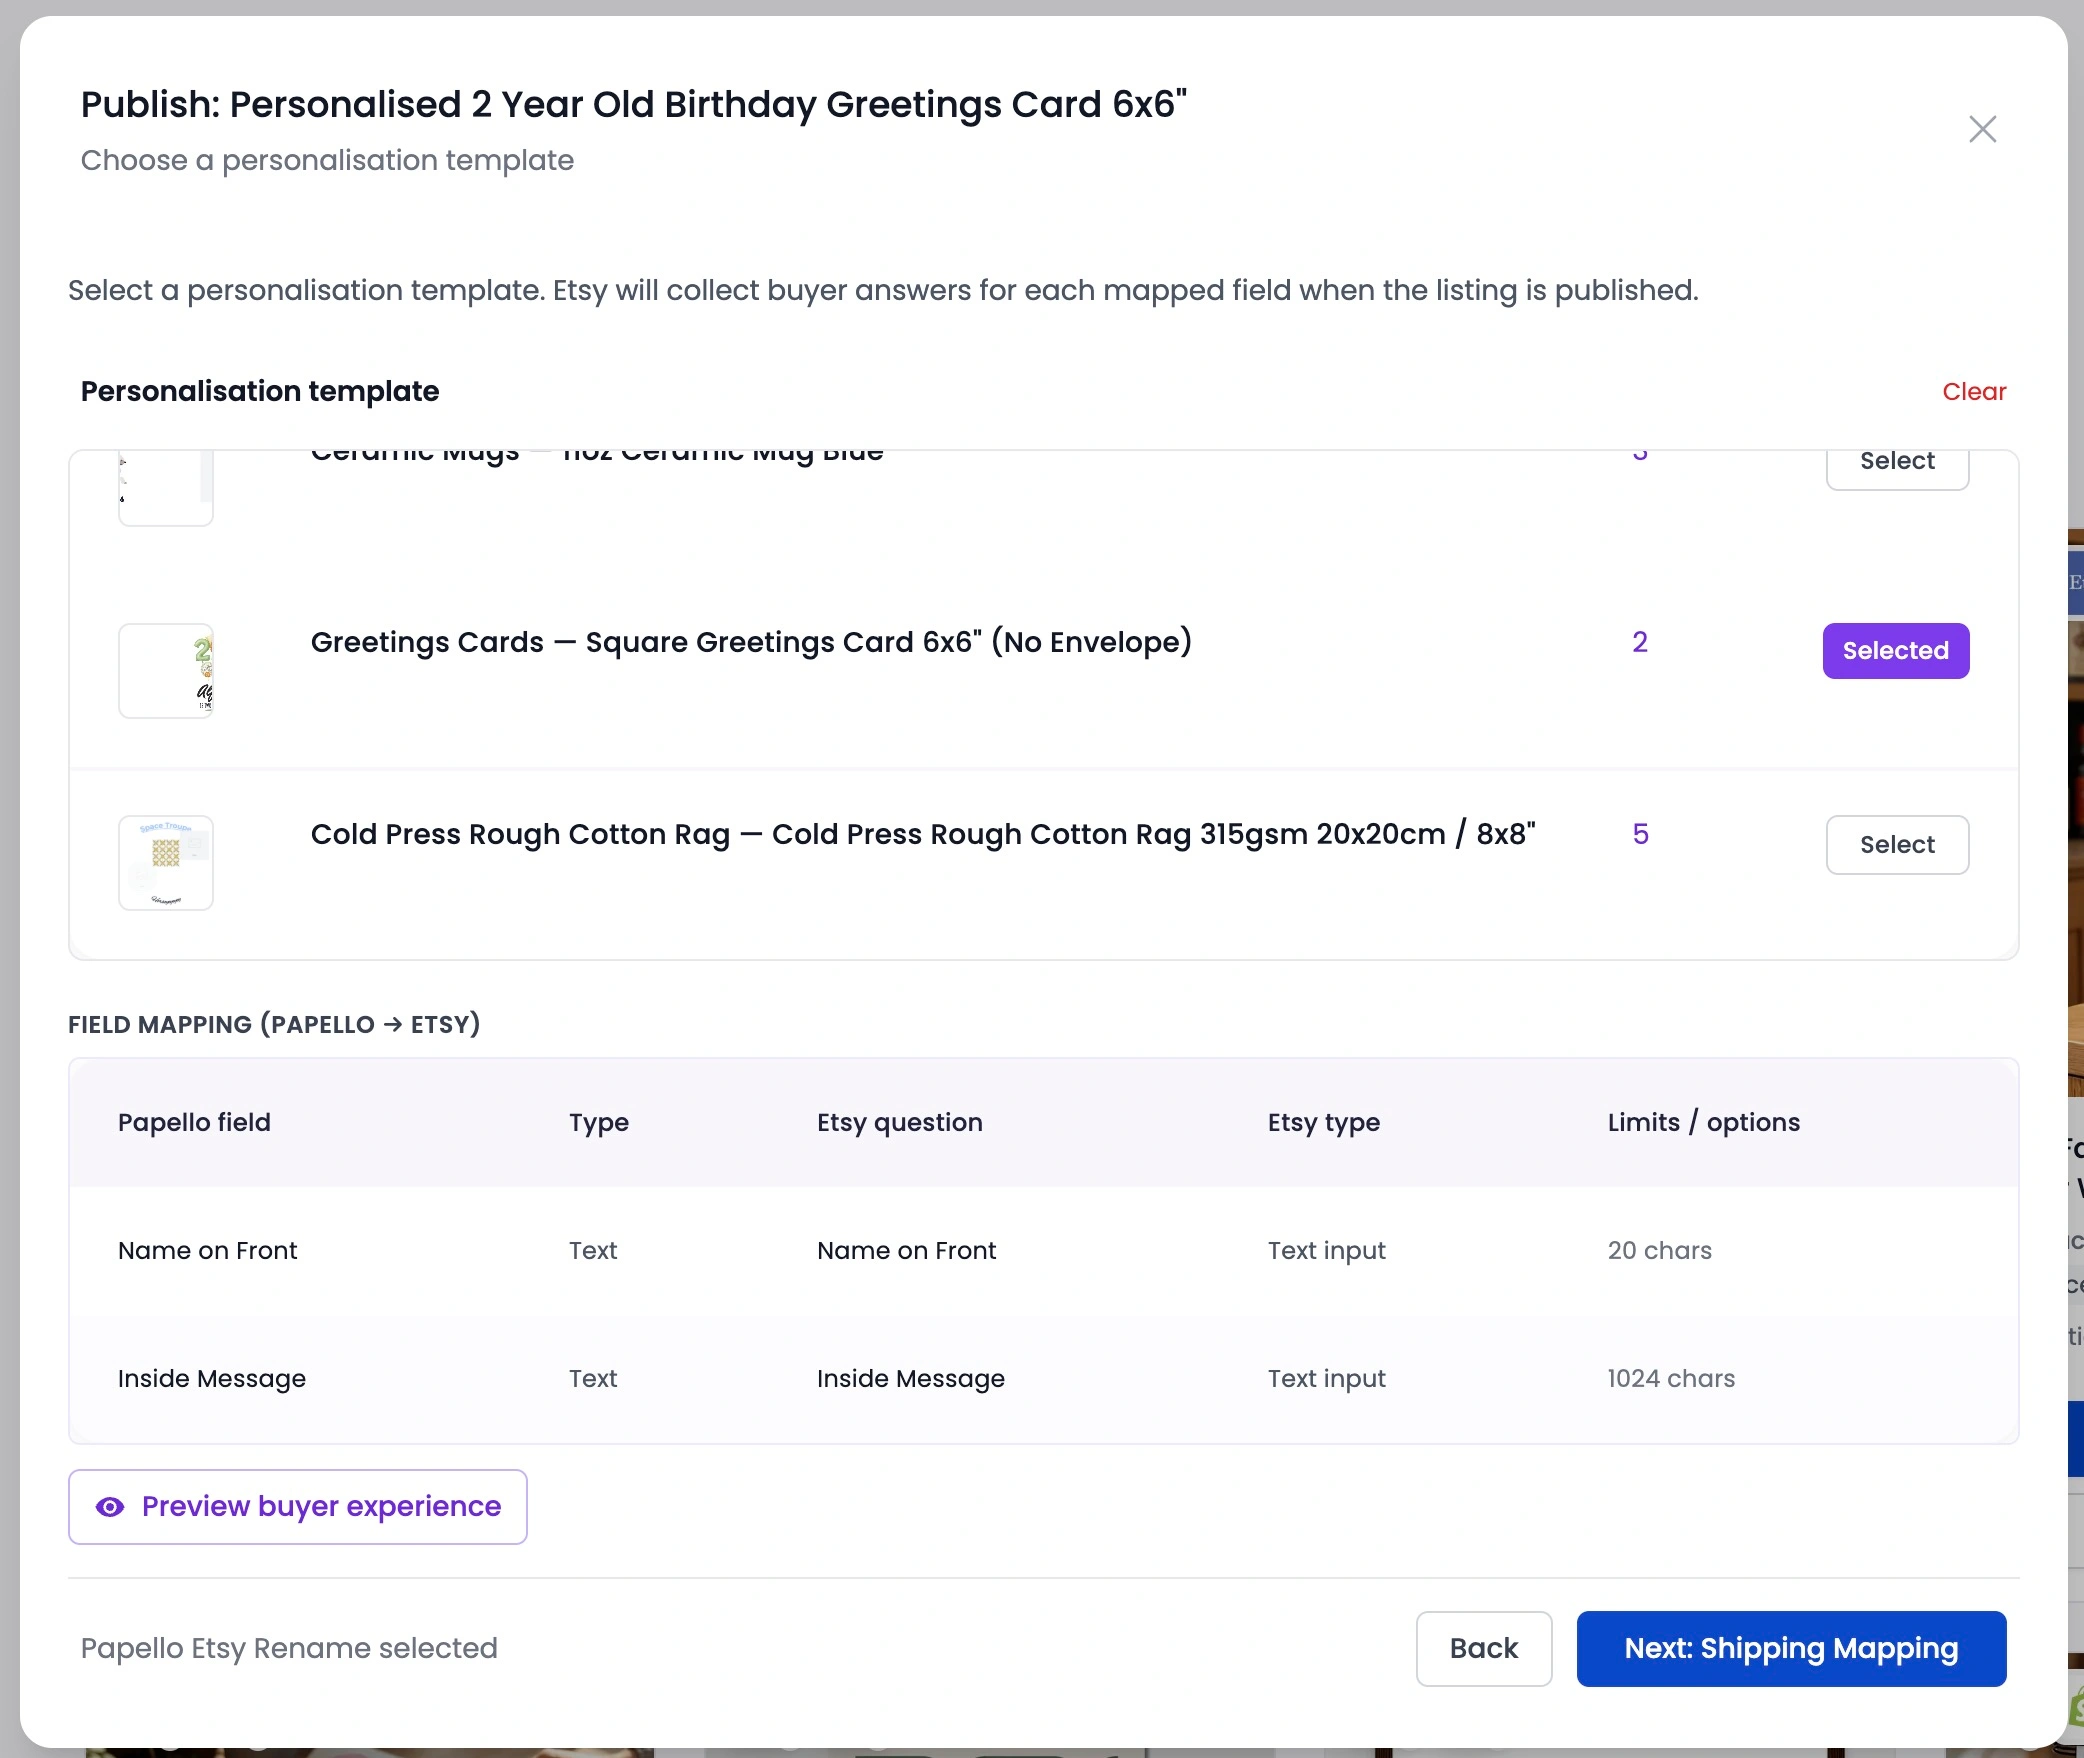
Step 6: Publish to Store
Once your listing details are set, click Publish. Currently, you can publish personalised listings directly to your Etsy store. When published, Papello will automatically generate and map all your personalisation questions and inputs straight onto your Etsy listing.
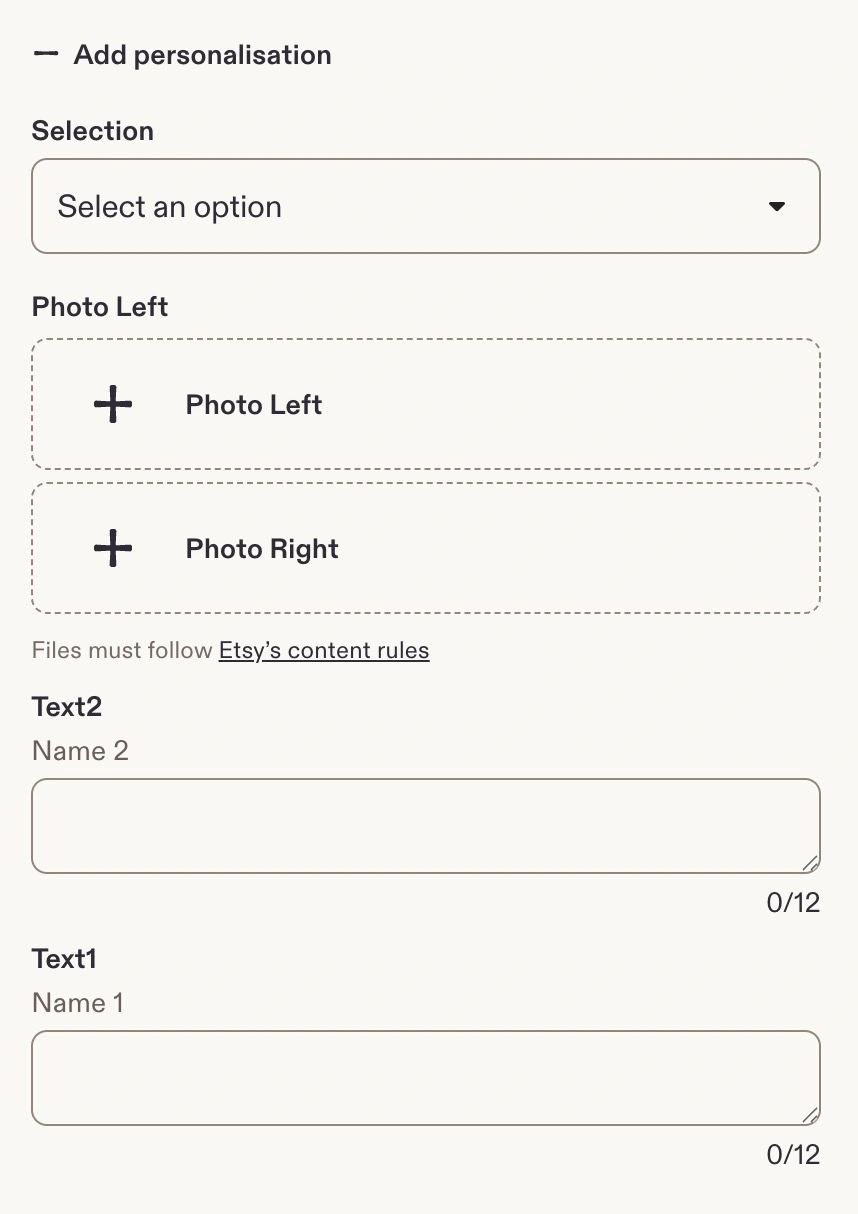
Automating Existing Listings on Your Store
You do not need to create brand-new listings from scratch to use this feature. You can easily automate existing personalised listings already active in your Etsy shop:
Connect your store to Papello (if you haven't already).
Go to the Listings page on your Papello dashboard.
Select your Etsy store from the dropdown menu.
Find the listing and click "Setup Automation".
Check the "Personalised automation" tickbox to enable personalisation mapping for this item.

Select your corresponding Design Studio template from the drop-down menu. Papello will instantly preview how your personalisation questions and inputs will map across to the listing.
Click "Save Configuration". This automatically updates your live Etsy listing with the exact personalisation questions configured in your template, allowing buyers to see and fill out these fields immediately at checkout.
Managing Incoming Personalised Orders
When a customer purchases a personalised item, their submitted entries instantly generate the print file. You can choose how these orders are handled on your Account Preferences Page:
Automatic Submission: The artwork renders instantly and moves straight into production for zero-touch fulfillment.
Manual Approval (Recommended for Complex Customisation): Enable "Manually approve personalised orders." Orders will enter a "Pending Approval" status, and we will send you an email alert so you can inspect the rendered artwork before it goes to print.
How to Fix Customer Personalisation Errors
Customers sometimes type extra notes or accidental typos into personalisation boxes (e.g., entering "Trevor - please ship ASAP" instead of just "Trevor").
If your account is set to manual approval, you can easily fix this before the item enters production:
Go to your Orders page on the Papello dashboard and select the pending order.
Inspect the customer's submitted personalisation details.
Click directly on the incorrect field to edit the text or swap the image choice.
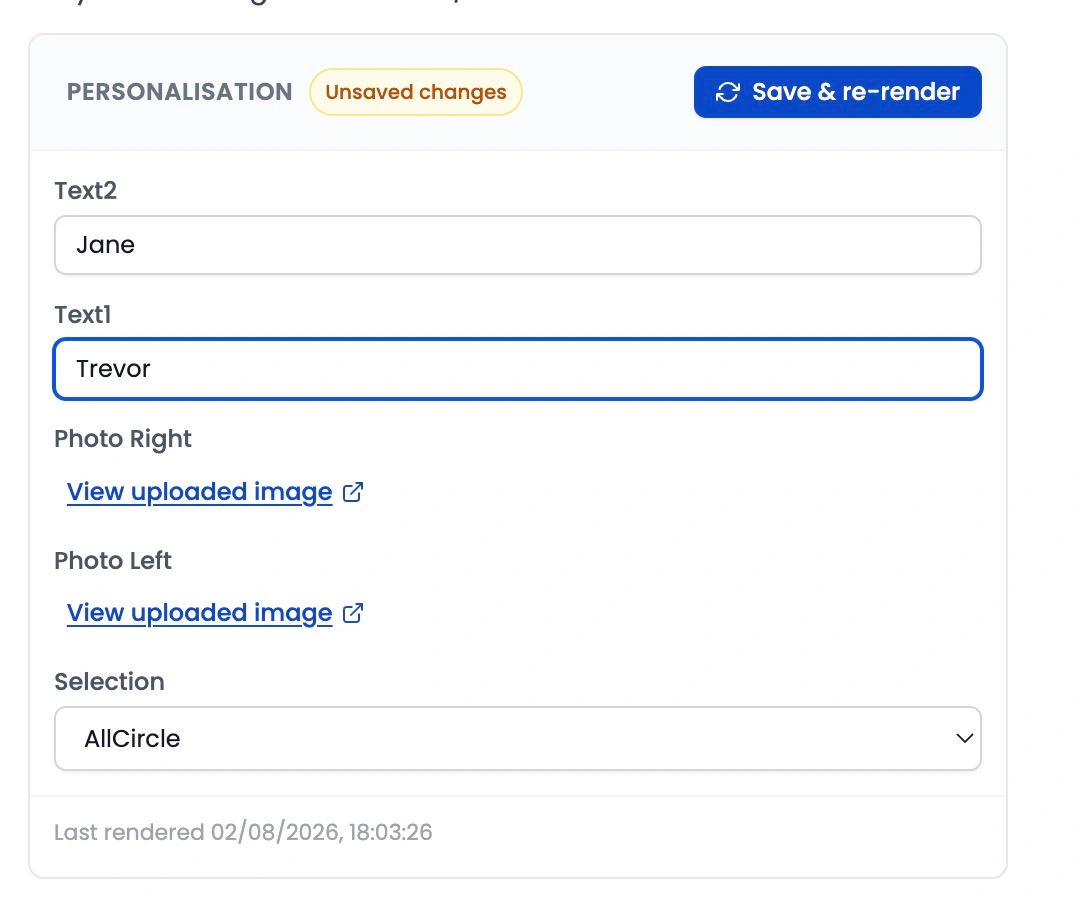
Click "Re-Render Artwork".
Papello will instantly regenerate the high-resolution print file with your updated details. Once the preview looks right, click release to send the order to fulfillment!